One-stop large format printer parts supplier Printer manufacturer's OEM partner


 January 23,2026
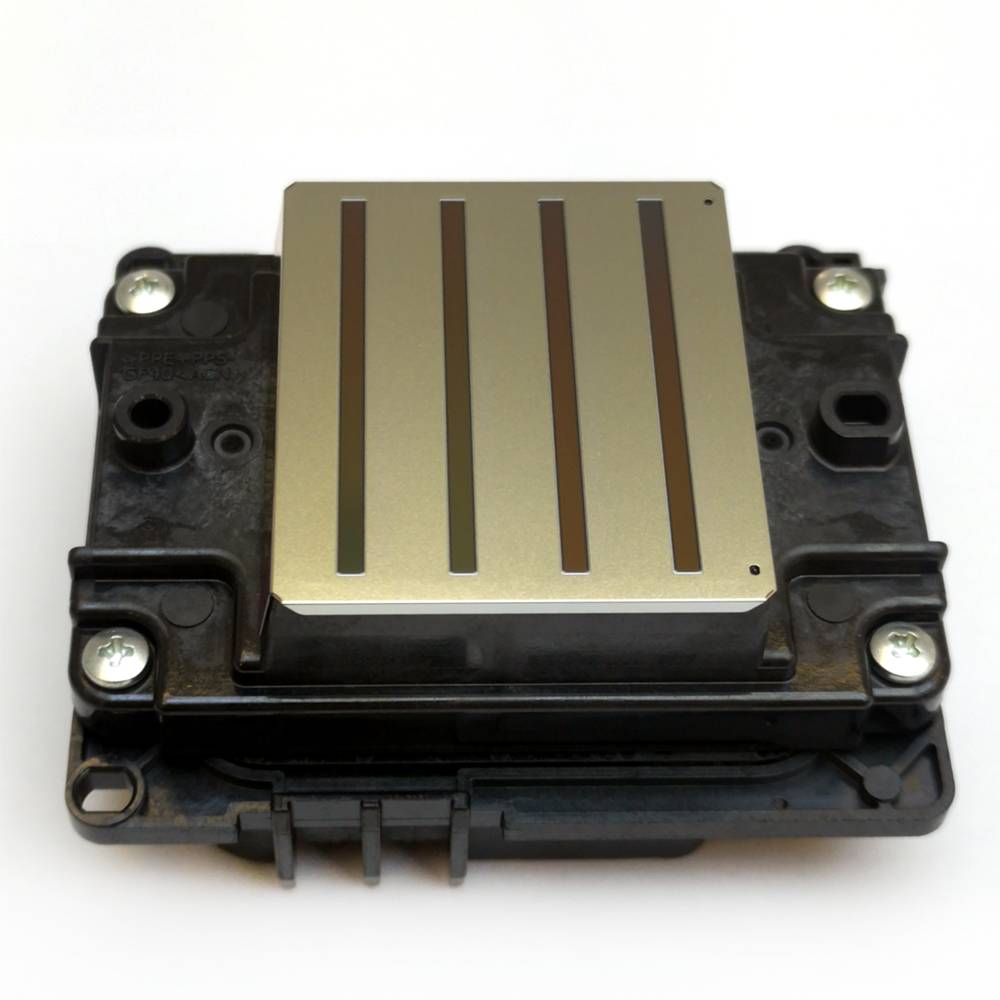
The print head of the UV printer needs regular maintenance. Pay attention to the proper maintenance of the print head. This is the best way to keep the print head working optimally, and it is also the most important means to prevent the clogging of the print head of the UV printer. If maintenance is neglected, as one of the core components of UV flatbed printers, it will cost tens of thousands to replace a print head. The Ricoh G6 print head is frequently used in industrial printers. So, how to maintain the Ricoh G6 print head?
Sometimes the Ricoh G6 print head is blocked and cannot output ink. We only need to simply clean it to make it in good condition. The following points are for reference only:
1. Maintain and maintain the print head of the equipment.
In order to keep the print head in the best working condition, make as many pictures as possible or test the status of the print head before the equipment is officially put into operation to see if the status color is complete and there is no ink break Phenomenon when the color is disconnected, it means that the print head is blocked. Need to press ink or clean the print head.

After completing all the printing tasks, first of all, the maintenance of the print head only needs to spread the cleaned clean cloth on the moisturizing pad and drop some moisturizing liquid before shutting down every day. If the machine is equipped with a moisturizing pad, directly put the moisturizing liquid on the moisturizing pad.
(1) Regular cleaning: whenever you find that the nozzle is a little blocked, you should press the stop without hesitation. After printing, use a manual ink pad or negative pressure to eject the ink from the nozzle for nozzle cleaning, and finally use plastic Squeeze the bottle and spray some cleaning solution on the nozzle surface to wash away the residual ink.
(2) Simple cleaning: Use a special cleaning liquid or alcohol to clean the print head to clear the blocked or oblique nozzles; note that it is best to use the cleaning function of the standard cleaning liquid on the machine, if not, you can manually inject through a syringe Cleaning, the intensity should be controlled within 50KPA.
(3) Moderate cleaning method: Use the second-step simple cleaning method to clean the print head, and then stick the non-woven fabric stained with the cleaning solution on the surface of the print head and leave it for 12-24 hours.
(4) Deep cleaning method: Use the second simple cleaning method to clean the print head and clean the surface of the print head, and then slightly back-pump through the syringe, repeat several times until the cleaning solution is injected until all The nozzle holes are all sprayed normally.
(5) If it is severely blocked, the print head needs to be removed and sent to the company for professional cleaning. The repair success rate for severe failures is only 40-50%.
(1) Press to stop the printing operation first, and move the machine head to the leftmost cleaning position. All computers and equipment should be turned off, the print head should be emptied of ink, and cleaned with a special cleaning solution.
(2) Disconnect the print head from the ink supply system, unplug the ink supply sac on the print head, and then use a glass syringe to extract the special cleaning solution to clean the print head. Method: use 40ml of cleaning solution every 10 minutes, 3 to 4 times in total.
(3) Through the positive pressure ink, the ink in the entire ink supply system is emptied, and the ink in the entire ink supply system is cleaned with a special cleaning solution;
(4) Replace the filter, inject new ink, and connect the print head.
(1) Remove the print head from the tray.
(2) Pour an appropriate amount of special cleaning solution into a clean glass container (for example a beaker), and it is advisable to submerge the bottom of the print head by 2-3mm after placing it in the print head. Be sure not to soak it on the main board of the print head, soak it for 10 minutes with a syringe Squeeze the cleaning solution against the nozzle hole, and repeat 2 times.
Note: The motherboard inside the print head must not touch the cleaning fluid, otherwise it will damage the print head. Be sure to strictly control the time to prevent damage to the print head, and be sure to use the cleaner for cleaning more than three times in a row.
(3) Use a glass syringe to extract 40ML of cleaning solution to clean the nozzle. Only when the water is in a straight line can the cleaning be effective, and the print head can continue to be used.


With 20-year experience in printer parts, Johope has been a professional supplier of original print heads (printheads) and manufacturer of printer ink supply parts, including sub tanks, dampers, filters, ink tubes, which are OEM optional.